Deploying EXE installers using Intune involves several additional steps that differ from typical packaged applications. A crucial part of the process is converting the installation files into a format that Intune can distribute effectively.
For EXE installers, this requires packaging the application files into the .intunewin format.
In this guide, we will walk through the process of converting the Win32 app content into the necessary format using Microsoft’s Win32 Content Prep Tool and then uploading it into Intune for deployment.
Additionally, we’ll explore how PacKit can simplify the process for IT professionals.
For those interested to see the process of deploying an MSI file to Intune, please check this article!
Convert the Win32 App Content using the Microsoft Win32 Content Prep Tool
The first step is to convert the installation files for your application into the .intunewin format using the Microsoft Win32 Content Prep Tool.
Here’s how to do it:
Alternatively, you can specify the parameters directly in the command line:
- Download the Win32 Content Prep Tool from Microsoft’s official site if you haven’t already.
- Open a Command Prompt window and navigate to the folder containing the IntuneWinAppUtil.exe file.
You can run the tool by simply executing the IntuneWinAppUtil.exe, without any parameters, which will guide you step-by-step through entering the required parameters.
IntuneWinAppUtil -c <source_folder_path> -s <setup.exe_path> -o <output_folder> -q- <source_folder_path> – The folder containing the installation files. Ensure all files related to the installation are present in this folder.
- <setup.exe_path> – The path to the setup.exe file of the application.
- <output_folder> – The output folder where the generated .intune file will be placed.
This step converts your application’s content into the .intunewin format, preparing it for upload into Intune.
Adding the Win32 App in Intune
Once your installation files have been converted into .intunewin format, the next step is to upload the package into Intune. You can do that by following the next steps:
1. Sign in to the Intune admin center.
2. Click on “Apps” and then click on “All Apps”.
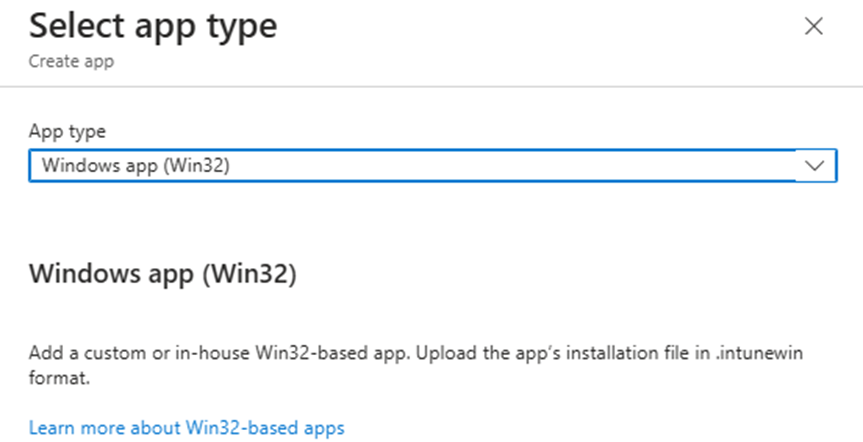
3. Click on + Add, and for the app type, select “Windows app (Win32)”.
4. In the “Add app” pane, click “Select app package file”.

5. In the “App package file” pane, browse and select the .intunewin file generated earlier using the Microsoft Win32 Content Prep Tool.
6. Once selected, click OK on the App package file pane.
Next, you’ll need to review and configure several settings for your application:
- App Information
- Program
- Requirements
- Detection Rules
- Dependencies
- Supersedence
- Assignments
When it comes to the Program, here, you must define the Install and Uninstall command for your application.
If you are using PowerShell Application Deployment ToolKit (PSADT), you can configure the installation and uninstallation commands to look like this:

Simplifying EXE Deployment with PacKit for Faster Intune Uploads and Reduced Manual Effort
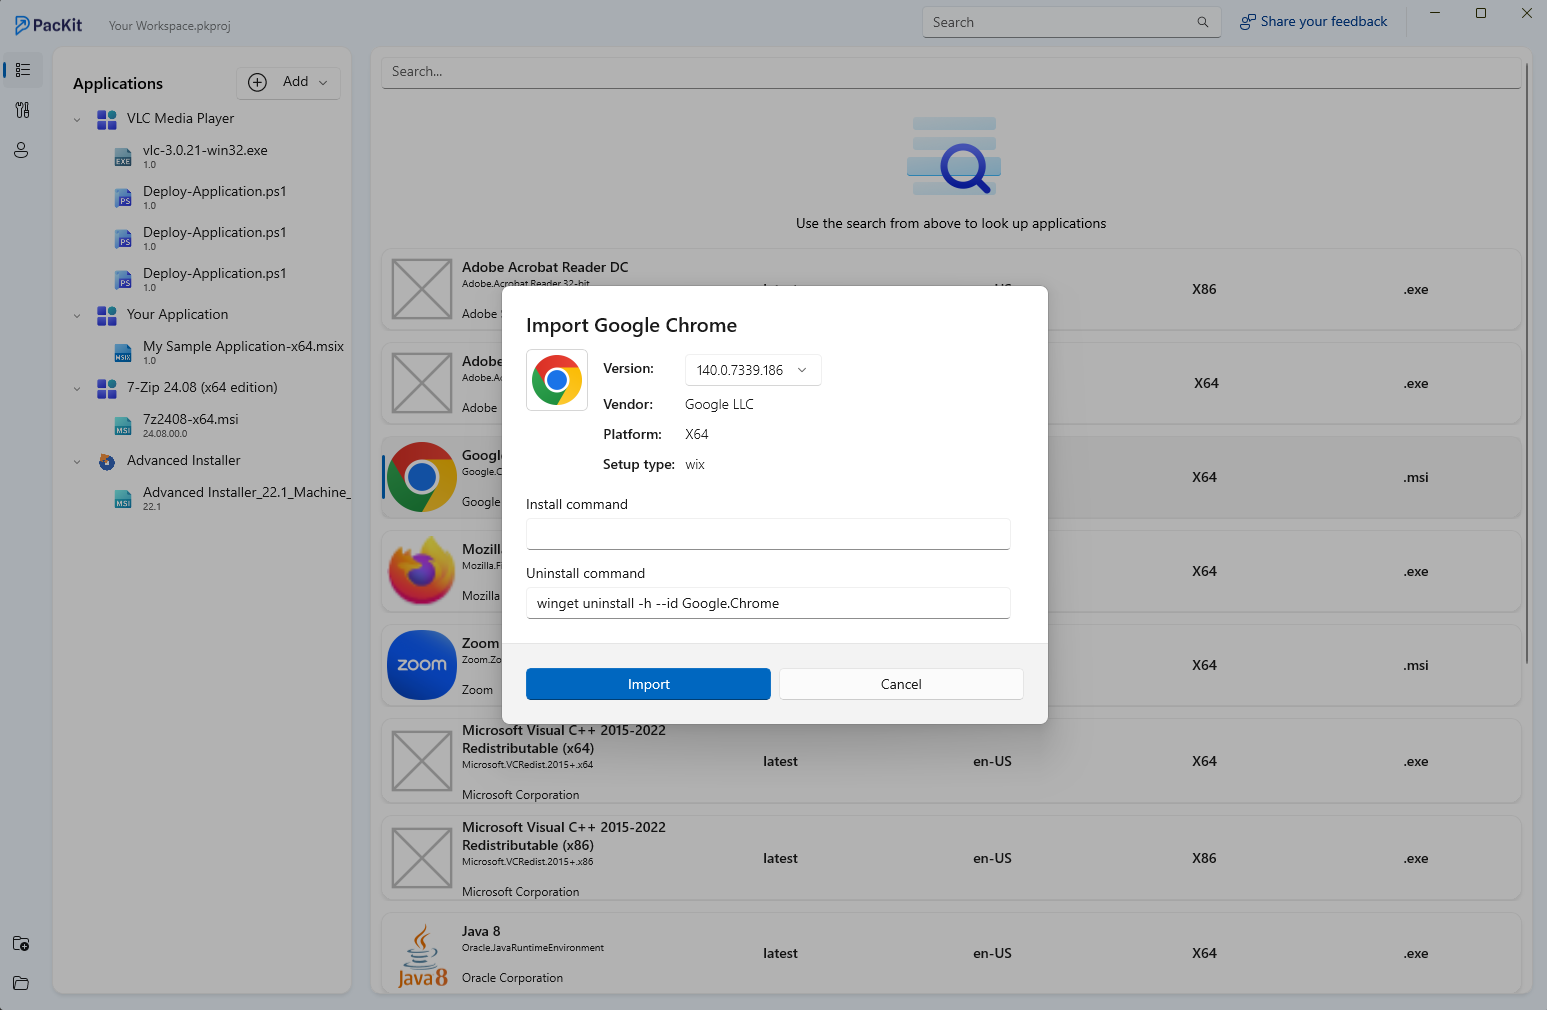
PacKit is a free dedicated post-packaging configuration tool that streamlines and optimizes application deployment workflows.
It enables IT Professionals to wrap the installation files using PSADT, generate the .intunewin file, and upload it directly to Intune – all within the PacKit interface.
Download PacKit Free here. No registration needed. Access all features instantly.
Step-by-step on how PacKit simplifies the EXE deployment process
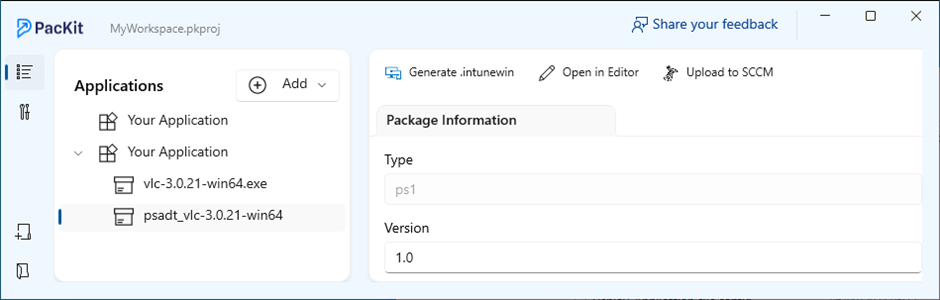
1. Wrap EXE files with PSADT: If you use the PowerShell Application Deployment Toolkit, you can create the PSADT wrapper straight from the PacKit interface by clicking on “Wrap with PSADT”.
This will generate the PSADT package. Once generated, you can open the PowerShell script straight from the PacKit interface and review it.

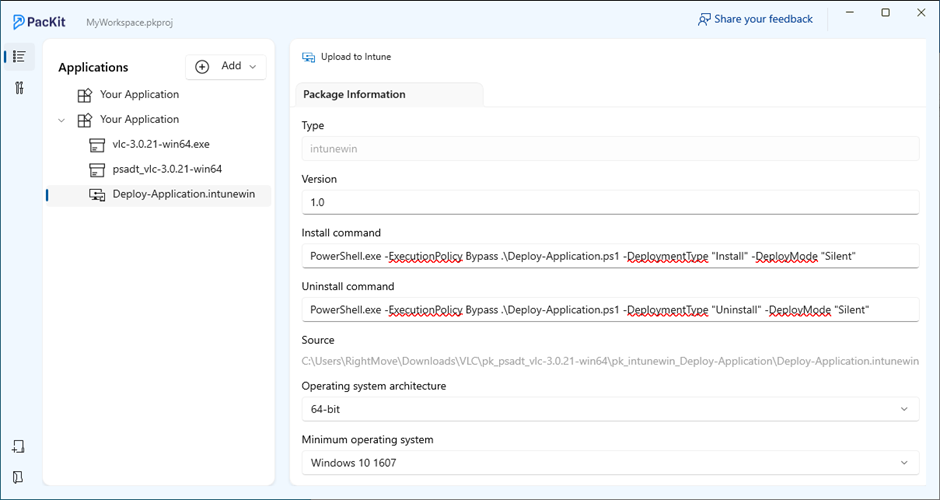
2. Generate the .intunewin file: On the newly generated PSADT package, you can generate the .intunewin file by clicking on “Generate .intunewin”.
3. Upload directly to Intune: Once the newly generated .intunewin package is ready, define the Install and Uninstall command lines and click on “Upload to Intune”. PacKit will handle the rest.
PacKit’s integration with Intune and PSADT greatly reduces the time and complexity involved in the packaging and deployment process, allowing IT admins to focus on other critical tasks.
Conclusion
Deploying EXE installers via Intune requires converting the app content into the .intunewin format using the Microsoft Win32 Content Prep Tool.
Once the package is created, you can upload it into Intune and configure it for distribution.
PacKit further simplifies this process by automating the creation of the PSADT wrapper, generating the necessary package, and uploading it to Intune with just a few clicks.
By following these steps, you can streamline the deployment of EXE-based applications through Intune, making the process more efficient and less prone to errors.